Showing posts with label recipes. Show all posts

Saturday, October 22, 2011

Tomatoes! Tomatoes! Tomatoes!

The tomatoes just won't stop this year! In past years I have had to bring in the entire vines and hang them up in the garage to try to get them to all ripen, or loose them all to late blight like I did last year; but this year they are ripening enough outside that I can pick them when orange and they ripen fully within a few days on the counter. I'm picking them a little before ripe Since it has been raining a lot, I  want to reduce the chance of the ripening fruit cracking and splitting.

Pints of crushed tomatoes
Although I have a lot of tomato preserving yet to do, I'm keeping up. One trick I've mastered over the years is to use multiple preserving techniques; if all I did with the tomatoes was can them, I'd be way past burned out by now! This year I have canned over 30 pints of crushed tomatoes, dried several bags worth in the dehydrator, and frozen many containers of oven roasted tomatoes.

Oven Roasting tomatoes is very easy, and it concentrates the tomato flavor, making them seem somehow more tomatoey when pulled from the deep freeze in winter.

Oven Roasted Tomato Recipe/Technique

Tomatoes, washed, trimmed of any bad parts, and cut into halves or quarters depending on size.
Olive oil
Kosher Salt

Coat a rimmed baking sheet with olive oil, arrange tomatoes skin-side down on sheet. Sprinkle with a small amount of Kosher salt (as the water from the tomatoes evaporates in the oven the salt will concentrate, so go easy on it), and drizzle with more olive oil.

Place in a 300 degree oven for a few hours, until the tomatoes have shrunk and have a few brown/caramelized spots. Let cool and store in freezer containers.

We use the roasted tomatoes for quick sauces, or toppings for fish. On busy nights I make a meal out of polenta (made in big batches and frozen), kale (blanched and frozen) sauteed with garlic, and the roasted tomatoes; all I need to do is to remember to pull them out of the freezer in time to defrost.
Roasted tomatoes, almost done, they need about another half hour in the oven.

Monday, June 14, 2010

First Taste of Summer

We finally got a break from the rain! Saturday was the first 80+ degree day since last September…and it was dry! Somehow, the man of the house managed to gather up the will power to go out and mow the lawn after getting home from his 10 hour day at the restaurant.


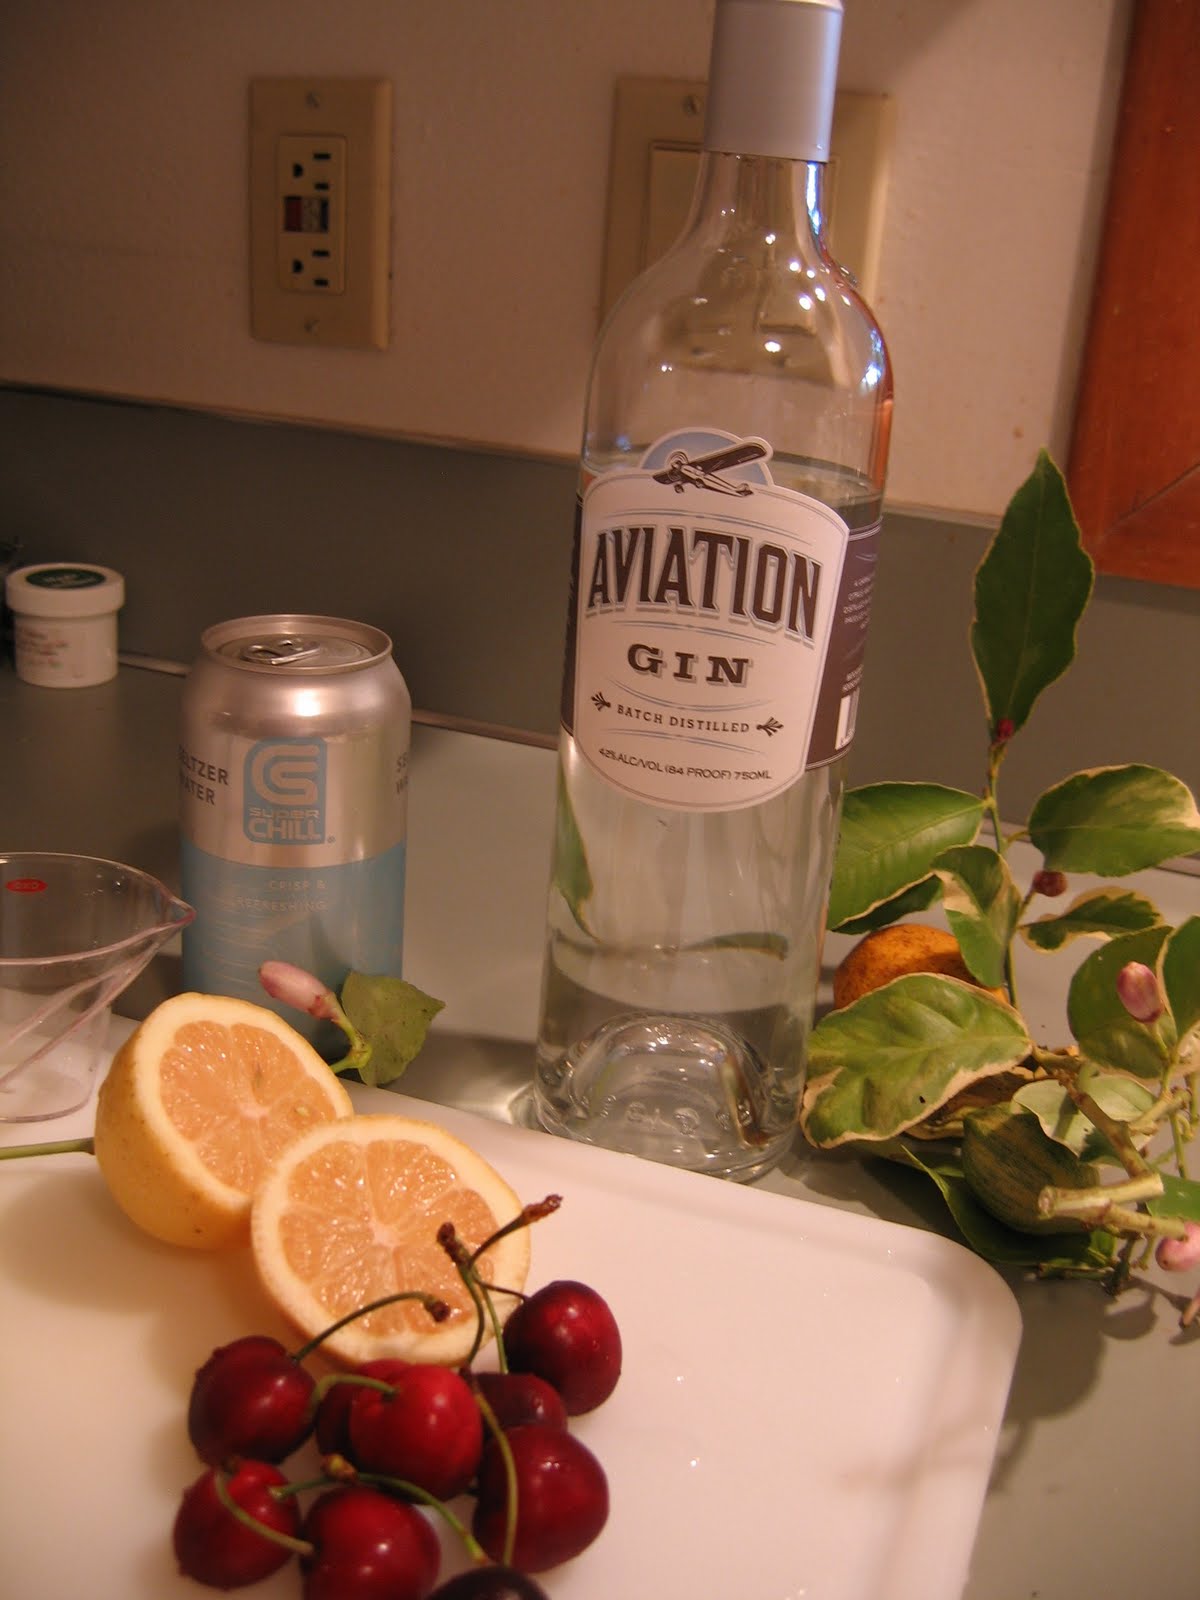
That feat deserved a treat! I found the first of the local (if you count Washington as local!) cherries at the Oregon City Farmers Market, so I decided to make a Smith House Collins for the Man of the House…a real taste of summer.


Smith House Collins
(Yield: one 10 ounce cocktail)

Pit two fresh Bing (or other) cherries, leaving the stem on one. Put the pitted, stemless cherry in the bottom of a 10 oz Collins glass, press it with a spoon to release its juice, add ice to fill the glass.

Combine in a cocktail shaker:
1 ½ oz Aviation Gin
¾ oz fresh squeezed lemon juice
½ oz simple syrup (1 part water to 1 part cane sugar)
Add ice
Shake until cold.

Strain the mixture from the shaker into the glass. Top with soda water and garnish with the remaining cherry.
Note: I used a lemon from our garden…lemons can vary in sweetness, so adjust the simple syrup as necessary.

The Smith House Collins

 
The Cocktail Hour is Basil's favorite time of day!

Saturday, March 20, 2010

Preserving the harvest

My new years resolution for 2008 was to try to eat something home grown every day. I decided to keep track of it on a list on the sidebar of this blog (the list is down at the left-side bottom of the page). I only kept the list updated for a month; However I have managed to stick to the eating part. It was hard in the beginning, and often the only home-grown ingredient in a meal would be a herb, but as our garden has grown so has the the amount of home-grown ingredients on our daily menu.
Last summer we replaced our second refrigerator with an energy star rated chest freezer. While we miss the extra fridge space, the old unit was a big energy hog and we really only used the refrigerator part for chilling beverages and for holding extra food when we had a party, and the freezer compartment did a poor job of keeping the food frozen. I'm thoroughly in love with the new freezer!

We filled the freezer by December. It was very nice to have our home-grown treats ready for meals. The freezer is emptying out now, so I thought it would be a good time to take stock of what is still in there and what items i think we ran out of too soon...I can plan our summer garden accordingly.

Here is a quick list of what we froze in 2009:

Greens (Rapini, Chard, and Mustard); Berries (Blueberries from our garden plus raspberries from the market) Grape Juice; Eggplant; Dried Tomatoes; Basil Pesto; Squash (from a Friends garden); Apple Sauce & Rhubarb Compote (fruit from friends gardens); Zucchini Cake & Bread; Plus lots of homemade soups and cooked dried beans. As I go through the 2010 freezing season I'll do my best to post about the methods and recipes.
Concord Grapes, their sweet juice is in our deep freeze!

Now is an excellent time to invest in energy saving appliances, there are incentives and rebates available; The Energy Trust of Oregon has a deal where they will send someone out to pick up your old refrigerator (for FREE) and then they will send you a check for $30! Yep, they PAID us to get rid of our old electricity hog, and they recycled it too. When I went shopping, I found an Energy Star rated freezer that qualified for a $50 rebate! Now we have a big energy efficient chest freezer to store our harvest in. Here is a link to information about the recycling and rebate program.

Thursday, December 20, 2007

Homemade for the Holidays


The big pet food scare has brought a lot of attention to the junk that can be found in some dog food and treats. We have always eaten a pretty good diet of Canine Caviar and veggies from the garden and from the market (along with grubs, seeds, and whatever else we can scarf down in the garden!)

This year we are giving all of our dog friends homemade dog treats! Homemade dog treats can be custom mixed to any pups taste. We love to eat peas in the garden so when Sarah saw green pea flour at Bob's Red Mill she knew she had to make green pea dog cookies!

GREEN PEA DOG COOKIES
2 cups Oat Flour (* see note)
1 ½ cups Green Pea Flour (**see note)
Pinch of Salt
2 teaspoons Bone Meal (***see note)
2 tablespoons Olive Oil
2 large Eggs
1 cup water (plus more if needed)

Mix dry ingredients together
Mix Wet Ingredients together

Combine wet and dry mixtures. If the dough is crumbly, add a little more water until it has a consistency that can be rolled out (like stiff cookie dough).

Roll out on a lightly floured board to ¼ to 1/3 inch thick. Cut into shapes and place on a lightly greased cookie sheet.

Bake in a 350 degree oven for 10 minutes then reduce heat to 200 degrees and bake until very dry and hard (1 to 1 ½ hours or longer depending on your oven and the size of the cookie) turn them over every 20 minutes.

Cool on a rack. Ask for a “watch me” then ask for a “spin”, then say “good pup have a treat!”

NOTES
*Oat flour can be purchased from a whole grain store, like Bob’s Red Mill.
**Green Pea flour can be purchased from a whole grain store, like Bob’s Red Mill.
***Food grade Bone Meal can be found in the “health food” section of the grocery store. Do not use garden bone meal!


We know some pups may not see green peas as a treat, so here is a recipe for Peanut Butter Dog Cookies:

PEANUT BUTTER DOG COOKIES
2 ½ cups Oat Flour (* see note)
Pinch of Salt
2 teaspoons Bone Meal (**see note)
2 tablespoons Vegetable Oil
½ cup Peanut Butter
2 large Eggs
¼ cup warm water (plus more if needed)

Mix dry ingredients together
Mix Wet Ingredients together

Combine wet and dry mixtures. If the dough is crumbly, add a little more water until it has a consistency that can be rolled out (like stiff cookie dough).

Roll out on a lightly floured board to ¼ to 1/3 inch thick. Cut into shapes and place on a lightly greased cookie sheet.

Bake in a 350 degree oven for 10 minutes then reduce heat to 200 degrees and bake until very dry and hard (1 to 1 ½ hours or longer depending on your oven and the size of the cookie) turn them over every 20 minutes.

Cool on a rack. Ask for a “sit”, then a “down”, then say “good pup have a treat!”

NOTES
*Oat flour can be purchased from a whole grain store like Bob’s Red Mill

**Food grade Bone Meal can be found in the “health food” section of the grocery store. Do not use garden bone meal!